


Installation#
Upload the plugin into wp-content/plugins/, activate it from the WordPress admin, and make sure the requirements are met: WordPress ≥ 6.2, WooCommerce ≥ 8.0, Flexible Invoices for WooCommerce PRO ≥ 5.3.6, and PHP ≥ 7.4. The Peppol interface will load and configure all necessary elements only after those conditions are satisfied.
Subscription activation#
Peppol for Flexible Invoices works as an add-on to Flexible Invoices for WooCommerce PRO, so activate that plugin’s license under the Invoice settings. Otherwise, the fields needed for exporting Peppol data (settings, metabox, UBL generation) will remain unavailable.
Updates#
Update it like any other WordPress plugin (via the dashboard or FTP). After an update, go to Invoices > Peppol and confirm that the seller information, schemes, and rates are still visible — the interface reads the stored values from the options automatically.
Important notes#
Peppol for Flexible Invoices extends the Flexible Invoices for WooCommerce PRO interface and uses the https://peppol.wpdesk.pl/api/xml service to generate UBL files. That means your server must have internet access, and Peppol data (IDs, schemes, rates) must be entered correctly in the settings.
First run#
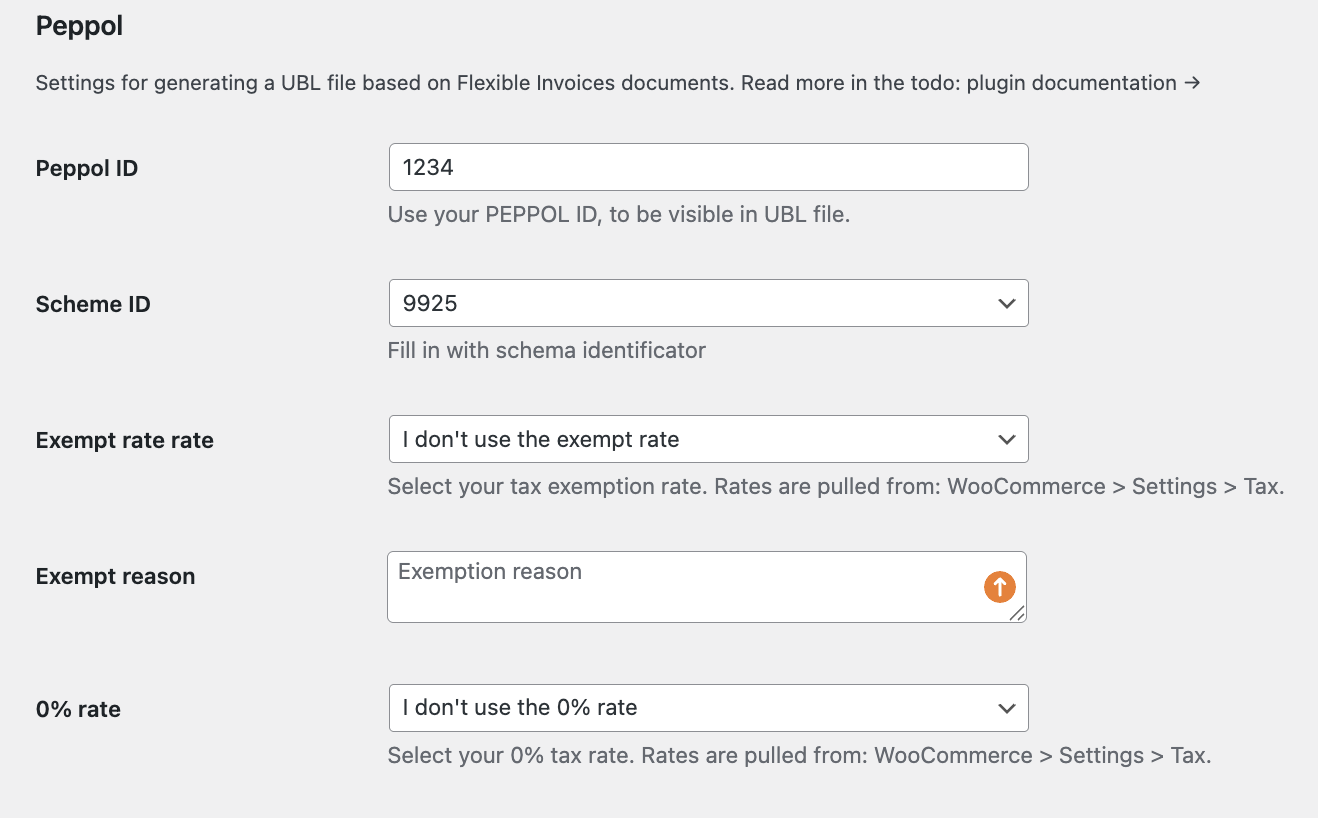
After activation, a new submenu “Peppol” appears under Invoices. Fill in the following there:
- Seller Peppol ID (text)
- Seller Peppol Scheme ID (list of codes)
- Exempt rate (select) and exempt reason (textarea) based on WooCommerce tax rates
- 0% rate (select) – pick the appropriate 0% rate
The saved values serve as defaults whenever you edit any document.
Peppol metabox on documents#
On the invoice edit screen (Document type: inspire_invoice) a Peppol metabox appears with three sections:
- Seller – preview and edit seller Peppol ID and scheme
- Customer – fields for buyer reference, PO number, Peppol ID, and buyer scheme. These are filled automatically when saved during checkout (fields Peppol ID, Scheme ID, buyer reference, PO number are stored under
_wc_billing/fi_peppol/...). You can override them manually. - Document – the “Exempt reason” field lets you explain the tax exemption at the document level
If you don’t save the document after changing any data, you’ll see “Data has been changed, please save changes to update data,” and the Download UBL button stays disabled until the document is saved.
UBL generation#
The “Download UBL” button in the metabox triggers an AJAX process that:
- Checks the permissions of the user generating the UBL (
manage_woocommerce) - Retrieves the document, seller/customer data, and settings (including VAT rates and exemption reasons)
- Sends the data to the external API (
/api/xml) and receives the XML file - Creates a Blob in the browser, starts the download automatically, and shows a success or error message (e.g., no connection, invalid response)
Checkout and additional fields#
Both WooCommerce checkout types (block and shortcode) automatically include the following fields:
- Peppol ID
- Scheme ID (list of Peppol schemes)
- Buyer Reference
- PO Number
After placing the order, the values are saved under _wc_billing/fi_peppol/..., and they are pulled automatically into the invoice metabox. If you use a custom checkout, make sure those fields still save to the same meta keys so the UBL export has all the data.
Columns and visibility#
Peppol metadata (IDs, schemes, buyer reference, PO number, exemption reason) can be added to the invoice list columns via the screen options in Invoices > All invoices. Select the columns you need to check the Peppol status without opening each document.